


If you own an Autotek 7005 amplifier and it’s having issues, you’re not alone. This amplifier model is known for its powerful sound and durability, but like any audio gear, it can encounter problems over time. Whether your amp isn’t powering on, has audio issues, or seems to have lost its punch, you don’t need to feel stuck. This guide will walk you through common Autotek 7005 repair steps, covering simple fixes and giving you a clear path to troubleshoot and revive your amp.
Common Issues with Autotek 7005 Amplifiers
1. No Power
If your Autotek 7005 amplifier isn’t powering on, don’t panic—it might just need a simple reset or fuse replacement.
2. Poor Sound Quality
When the sound starts crackling, or you notice distortion, it’s often an issue with the wiring, capacitors, or even the speakers themselves.
3. Overheating
Amplifiers can overheat if they’re in a poorly ventilated area or have been working too hard. This can lead to shutdowns and possibly permanent damage if not addressed.
4. Blown Fuses
If the amp is blowing fuses frequently, it might indicate a larger electrical issue that needs to be diagnosed.
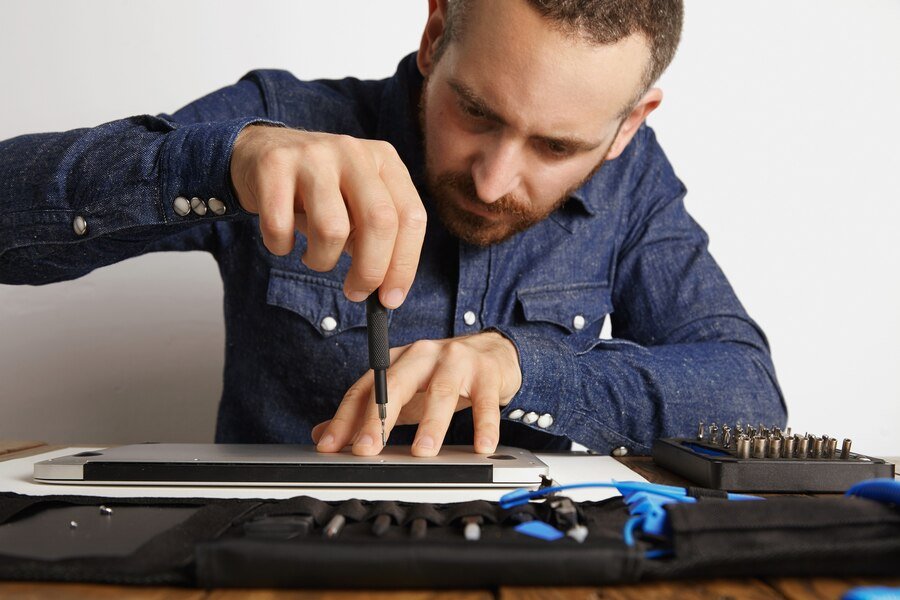
Essential Tools for Autotek 7005 Repair
Before starting your repair, gather a few tools to make the process smoother. Here’s what you’ll need:
- Multimeter to check for electrical issues
- Screwdrivers for opening the amp casing
- Replacement fuses in case of a blown fuse
- Soldering kit if any internal components need repair or replacement
- Compressed air to clean out dust and debris
Having these on hand will prepare you to handle most DIY repair situations.
Step-By-Step Guide to Repairing an Autotek 7005 Amplifier
Step 1: Check Power Connections
One of the simplest yet often overlooked issues with an amplifier is loose connections. Inspect the power and ground cables. If either is loose, try reconnecting them to see if this restores power.
- Turn off the amplifier and disconnect it from the power source.
- Check that all cables are tightly connected.
- If connections look frayed or damaged, replace the cable to avoid future issues.
Step 2: Inspect and Replace Fuses
If your amplifier isn’t turning on, the fuse could be blown. The fuse is designed to protect your amp by blowing if the current flow is too high.
- Open the amp casing and locate the fuse (usually near the power input).
- Use a multimeter to check if the fuse is functional. A blown fuse will read zero or infinity on the multimeter.
- Replace it with the exact type and rating specified in your amp’s manual.
Step 3: Clean the Internal Components
Dust and debris can block airflow and cause the amplifier to overheat or behave erratically. Cleaning the inside of your amplifier can often help resolve minor issues.
- Use compressed air to blow out dust from internal components.
- Be gentle to avoid damaging any circuitry, and avoid touching capacitors or other electrical parts with your fingers.
Step 4: Inspect Capacitors and Soldering
Over time, components like capacitors can wear out, and solder joints may loosen. If you feel comfortable with a soldering kit, this can be a rewarding repair step.
- Check the capacitors for any signs of bulging or leaking, which indicates they’re worn out.
- Carefully re-solder any loose connections to ensure a stable signal path.
- If you find any blown capacitors, replace them with ones that match the original specifications.
Step 5: Test for Short Circuits
If your amp blows fuses frequently, there could be a short circuit. Use a multimeter to test continuity across different components, which can help identify a short circuit.
- Test for continuity between the power and ground terminals.
- If the multimeter shows continuity (or a beep), there may be a short.
- Seek professional help if you’re uncomfortable with this repair, as shorts can be complex.
When to Seek Professional Help
While DIY fixes are great for minor issues, some problems with an Autotek 7005 amp can require expert knowledge. If:
- Your amp has persistent short circuits
- You notice strange burning smells
- Complex components need replacing
It may be time to visit an audio repair specialist. Professional repair might be the safer route, and it can ensure your amplifier gets the right fix.
How to Avoid Future Problems with Your Autotek 7005 Amplifier
Preventive care is one of the best ways to extend the life of your amp. Here are some tips:
- Keep it clean: Dust your amp regularly and use compressed air to clean out vents.
- Ensure proper ventilation: Avoid placing the amp in tight or enclosed spaces where heat can build up.
- Use quality cables: Poor wiring can stress your amplifier over time, so invest in high-quality cables.
- Check regularly for loose connections: Keeping power and ground cables tight will ensure smooth power flow.
Conclusion
Repairing your Autotek 7005 amplifier doesn’t have to be overwhelming. By following these steps and keeping an eye on maintenance, you can bring back the power, clarity, and depth of your amp’s sound. Whether it’s a minor connection fix or a more involved repair, taking these steps can help you avoid costly replacements and extend the life of your gear.
FAQs
Q1: Can I repair my Autotek 7005 amplifier if it won’t turn on?
Yes! Start by checking the power connections, fuses, and ensuring no loose connections. Replacing a blown fuse can often solve power issues.
Q2: Why is my amplifier overheating?
Overheating can happen if your amp lacks ventilation or has dust buildup. Try moving it to a more open space and cleaning any vents.
Q3: My amp sounds distorted. Is there a fix for this?
Yes, distortion can come from wiring issues or faulty capacitors. Inspect the cables, capacitors, and clean the connections to improve sound quality.
Q4: How often should I clean my amplifier?
Aim to clean your amp every few months, especially if it’s in a dusty area. This will help it last longer and prevent overheating.
Q5: Can blown capacitors be replaced easily?
With a soldering kit and the right capacitors, you can replace blown capacitors. If you’re uncomfortable with soldering, seek professional help.